Changing a DSLR lens is always considered a difficult and complicated procedure and requires special expertise to safely remove and install a camera lens on a professional DSLR. To some extent, I would agree with the above statement that learning how to change camera lenses is not easy, but on the other hand, I must say if you learn a few simple tricks and focal points of your DSLR it would not be difficult or complicated for you at all.
Due to advanced social media platforms and especially when youtube and TikTok had become major sources of income for one-third of the world’s youth population, professional cameras have been updated according to the need of time.
Importance of Cameras and changing camera lenses
With the rapid advancement in information technology, electronic device manufacturing companies have boosted their sales with the help of introducing unique and exciting features in smart devices.
Be it a mobile phone camera or a professional DSLR, the major point of concern for a buyer is the optical quality and longevity of the device. Both static and videography is gaining huge popularity since the beginning of social media channels.
Accordingly, big brands like Nikon, Sony, Panasonic, and others have brought forward special features in the latest DSLRs. One of the most vital features which are now available in almost all professional cameras is the flexibility to change camera lenses according to the required pixels.
How to change camera lenses: Pro Tips
I have seen a lot of youtube videos trying to learn the best ways to change a camera lens without harming the camera in a perfect way. Here is my shortlisted list of simple methods which will enable you to easily learn how you can change your camera lens within seconds without any risk to your camera & lens.
In this article, we’ll show you how to change camera lenses in just a few easy steps.
F-Mount Point:
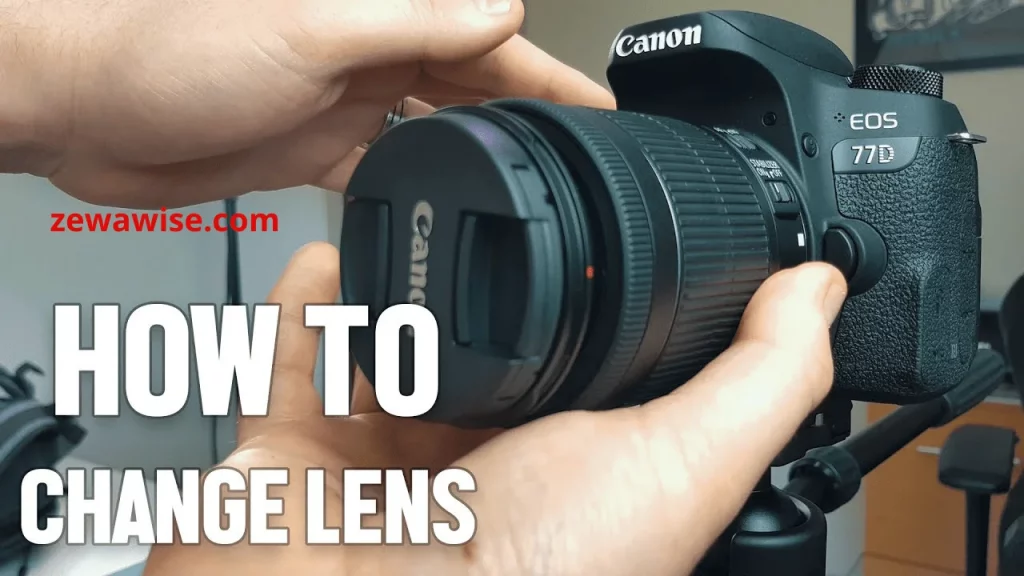
Before beginning to change the lens, let’s first get to know about the major point in your DSLR which is important to consider while changing the lens. On the front side of the camera where the lens is attached, you will find a white-colored dot in the middle of the lens. This dot is the point where your lens is connected to your camera.
Mounting Index:
The second most important point to be considered is the mounting index. The mounting index is the point where your lens will be mounted/dismounted from the camera body and allow lens adjustment.
Release Button:
On the body of the camera, there is a release button just beneath the focal point. The release button helps to lock and unlock the camera lens into the camera body. Pressing and holding the release button would allow you to remove the lens because it automatically gets locked up after the lens is inserted and adjusted into the camera.
Mounting sequence:
The mounting sequence does not refer to any point, in fact, this is a term used by professional photographers while giving coaching classes to their photography students. Mounting sequence refers to the correct alignment of the focal point at the camera and mounting index at the lens. Or you can simply say that when the focal point and mounting index points are in the same sequence, the lens shall be adjusted perfectly.
Professional method to change camera lens:
Below are a few steps that professional photographer follows while changing their camera lenses:
Switch off the camera power:
Before starting the procedure, make sure that your camera power is switched off to avoid any harm to your camera.
Remove the existing lens:
The next step is to dismount the existing lens by pressing the release button. Once you press and hold the release button, you can twist the lens towards the focal point and gently remove it without any exertion.
Inserting the new lens matching the focal points:
After removal of your existing lens, grab the new lens carefully and take note of the Focal Point. Insert the lens base towards the mount pointing to the Focal point and twist anti-clockwise matching the white dot on the lens to the white dot on the camera body.
While twisting it anti-clockwise until the matching index is reached, it will be automatically locked to the camera body. Make sure that the lens is locked properly by trying to twist it clockwise, if it doesn’t move clockwise, it means the lens is adjusted properly.
Problems with changing camera lenses and how to avoid them:
Considering the above discussion, it might sound to you that changing the lens is quite a simple and harmless procedure. At the same time, operating a professional camera and changing its lenses should be managed in a careful manner because of the high-cost feature and sensitive nature.
Dust may enter the inside of the camera while changing the lens:
While changing lenses, most people have observed that every time they change the lens, their camera gets dusty from the inside which is almost next to impossible to clean. The micro dust particles sometimes enter the filter which is placed in front of the detector of the picture. These dust particles require professional expertise to be cleaned and might cause a dusty and blurry effect on the video and picture quality.
To avoid such a situation, it is advised to always change the lens in indoor situations and keep the camera body least exposed to the outside air. As mentioned above, make sure that the camera power is switched off before removing or inserting the lens because when the camera is turned on, the sensors and radiations automatically attract the microparticles in the air.
Don’t touch the lens glass with your fingers:
Whenever you are holding a DSLR camera, always make sure that your hand doesn’t touch the lens glass, or else your lens would get the finder prints which would be difficult to remove. It is advisable to grab the camera or the lens from the body or the caps instead of the lens to avoid any unnecessary scratches and blurry effects. While changing the camera lens, a few important tips and tricks would help you to be more professional in your ways:
Important tips for adjusting the camera lens:
Whether you are a beginner, a professional photographer, or a videographer you always have to be extremely prompt and professional in covering the events of your clients. There could be some moments that are required to be captured immediately with the best optical quality. Having expertise in quickly changing the required lens within a limited time is a basic need of any photographer. Let’s have a quick look at some tips that would allow you to be faster and more professional while changing your camera lens:
Practice:
According to the proverb, “practice makes a man perfect” to acquire a high level of proficiency in any field, the more you practice, the more you will get a hold of the required skills. Try to change the lens when you are in a clean environment inside your room with minimum exposure to the outside air. Practicing, again and again, would allow you to be extremely prompt in changing the lenses whenever required.
Removing the caps:
If you are going to cover an event where you would be required to capture non-static moments such as a dancing party, a wedding party, or a music concert, removing the caps of the lenses before starting the shoot would help. It saves the time of substituting the caps each time you are changing the lens though it may look non-professional it is worth trying.
Practical and easy-to-use camera bags:
Try to buy some camera bags with easy-to-open pockets without any zips which you can easily open and immediately get access to the required lenses whenever required to change. This will save you time for zipping and unzipping the pockets each time you want to take out and out of the lenses.
Frequently Asked Questions:
Most of the photographers who use trained photography with the students usually come across some questions like
1- Do all the cameras have the option to change the lens?
All the new and advanced versions of DSLRs do have the option to change the camera lens. However, some older versions were lacking this feature. Due to increased customer demand, big brands like Nikon and Sony have discontinued the older ways of manufacturing cameras without having the option to interchange the lenses.
2- How can I change my camera lens without allowing the dust to enter my camera?
Well, the best tip is to always change the lens when you are in an indoor place with minimum windows and air transport. If sitting in a windows room, shut down the windows and sit in a direction opposite to the windows to avoid air passage. Also, do not forget to turn off the camera power because when the camera is powered on, the radiation would automatically attract outside particles due to the magnetic effect.
Conclusion:
Changing the camera lens is not a complicated procedure, but the technique required for this purpose might sound tricky and complicated because DSLRs and their lenses are not easy to buy if get damaged. Hence, extra care is required. How to change camera lenses is an important skill that needs patience and consistency to master.

“Welcome to our website, Here You’ll find a wealth of information on finding the right skating gear that will last for years to come, as well as tips and tricks to help you improve your skills. Whether you’re a beginner or an experienced skater, you’ll find something of value here.”


